

Un ami est venu me voir avec un problème. I adore une chaise qui appartenait à son père, mais celle-ci ne s'intègre pas du tout à son intérieur. Recouverte de skaï vert elle était moche et inconfortable, mais de forme intéressante. Cette chaise avait juste besoin d'un relooking. Alors nous avons choisi un tissus, et je me suis mise au travail! Huit heures plus tard, voilà!
A friend of mine came to me with a problem. He was very fond of this chair that belonged to her father, but it didn't suit his interior. The fake green leather was ugly and uncomfortable, but the shape was interesting. This chair just needed a little make-over. So we chose a fabric, and I started working! Eight hours later, voilà!


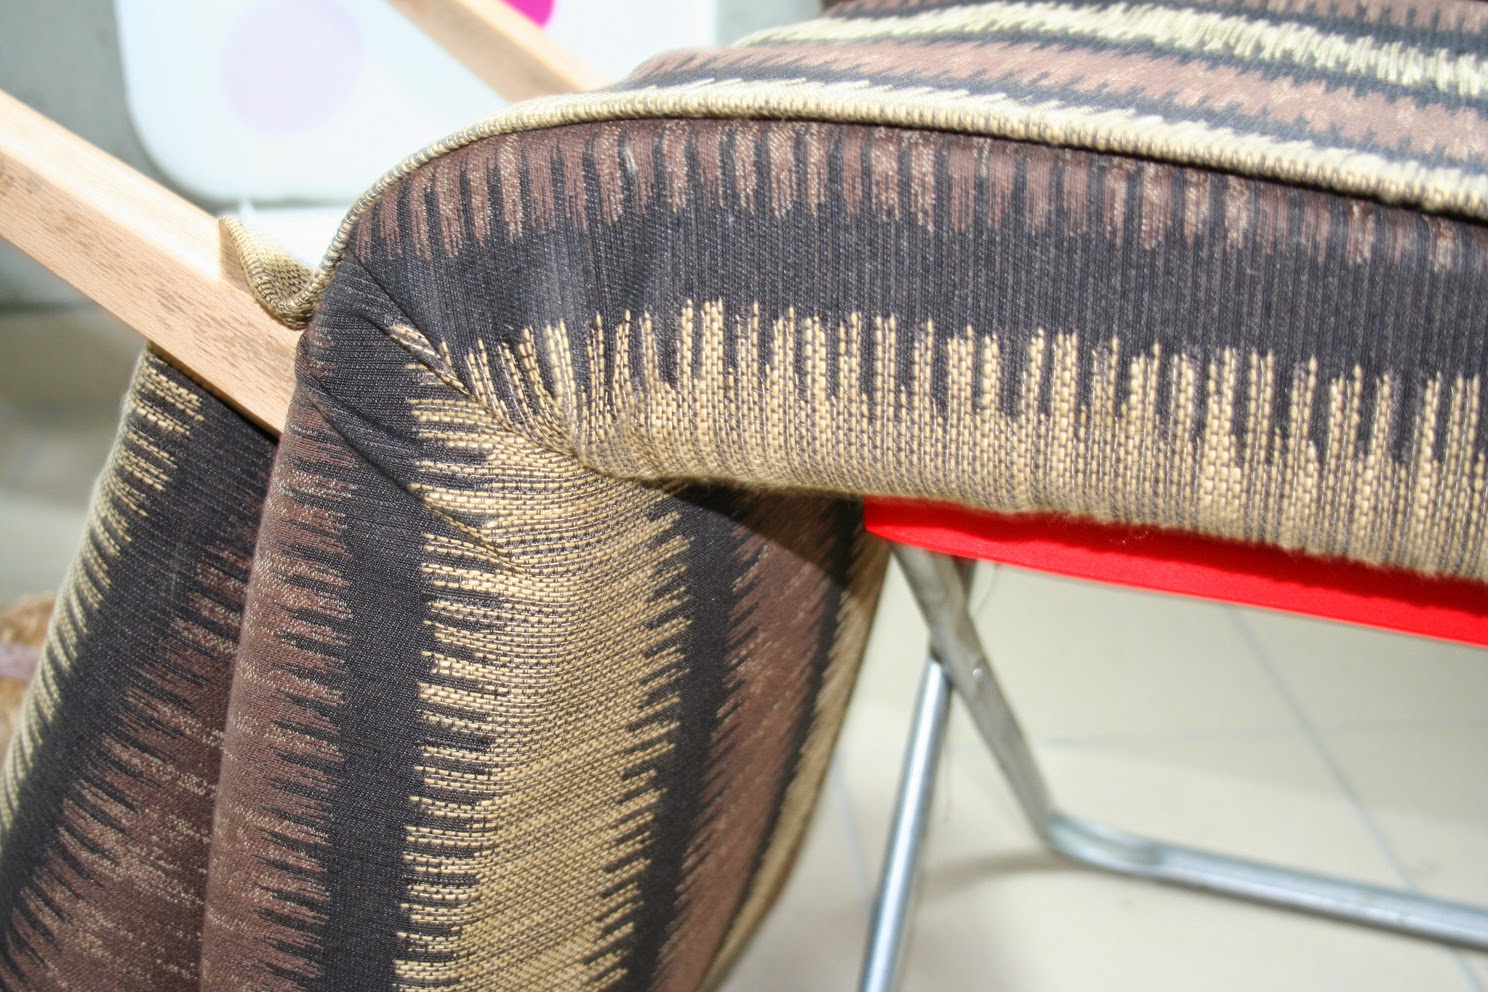
Tout d'abord j'ai complètement enlevé le vieux revêtement et toutes les agrafes (et il y en avait un tas!!), laissant seulement la mousse qui était en bon état. J'ai commencé par recouvrir l'assise, en faisant attention que le motif du tissus soit bien aligné sur l'assise et le dossier. J'ai fait passer le tissus entre l'assise et le dossier. J'ai accroché le tissus en l'agrafant au cadre en bois du dessous de l'assise. J'ai plié le tissus dans les coins de façon identique des deux côtés. Puis j'ai fixé le tissus du dossier, en m'assurant que j'avais assez de tissus pour recouvrir l'arrière du dossier et le dessous de l'assise avec la même bande de tissus. Une fois que j'avais tout agrafé, j'ai commencé la phase plus délicate du dos du dossier. J'ai soigneusement plié le tissus puis je l'ai collé. J'ai sécurisé en agrafant le reste du tissus en dessous de l'assise, en tendant bien pour éviter les plis, et en retroussant le tissus vers l'intérieur pour faire un ourlet et cacher les bords. Ce projet était un vrai challenge, mais très gratifiant, maintenant j'adore ce fauteuil au style sophistiqué, comme mon ami!
First I completely removed the old fabric and all the staples (and there was quite a lot!!), only leaving the foam which was in a good state. I started covering the seat, making sure the fabric on the seat and the back would line up. I pulled the fabric through the gap between the back and the seat. I attached the fabric in place by stapling it onto the wood frame underneath the seating panel. I folded the fabric around the corners and made sure it looked even. Then I did the same for the back panel, making sure I had enough fabric to cover both sides of the back panel and the bottom of the seating panel with the same long piece of fabric. Once all the stapling was done, I moved to the more tricky stage of the back of the chair's back panel. I had to neatly fold the fabric and glue it into place, then finish securing it by stapling the bottom of the seat panel making sure the fabric was firmly pulled to avoid creases, and folding the edges of the fabric inwards to hide them. This was a challenging but rewarding project, I love the look of this chair now, it's quite sophisticated, just like my friend!


Aucun commentaire:
Enregistrer un commentaire